Herb Drying Techniques

Herb Drying Techniques

Creative Garden Crafts and Herb Drying Techniques
Creative Garden Crafts
Creating crafts from items found in your garden can be a fun and rewarding activity. It allows you to repurpose materials and add a personal touch to your outdoor space. Here are some creative garden craft ideas to inspire you:
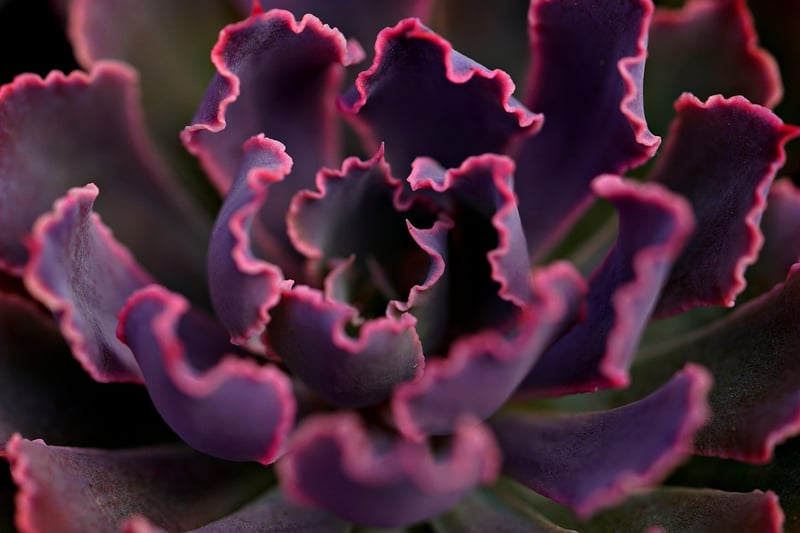
1. Succulent Planters from Old Tins
Transform old tins into charming succulent planters. Clean the tins, add a layer of gravel for drainage, fill with succulent soil, and plant your favorite succulents. These upcycled planters add a rustic touch to any garden.
2. Garden Rock Caterpillar
Collect smooth rocks of various sizes and paint them in vibrant colors. Arrange the rocks in a curved line, sticking them together with strong glue to create a whimsical rock caterpillar. This cute addition will bring a playful element to your garden.
Herb Drying Techniques
Drying herbs is a great way to preserve their flavors for culinary use. Here are some techniques to dry herbs effectively:
1. Air Drying
Air drying is the simplest method for drying herbs. Bundle herbs together and hang them upside down in a warm, well-ventilated area. Once dried, store the herbs in airtight containers away from light.
2. Oven Drying
For a quicker drying method, use your oven. Lay herbs on a baking sheet and place them in the oven on the lowest setting with the door slightly ajar. Check regularly until the herbs are dry and crumbly.
Combining your love for gardening with creative crafts and herb drying techniques can elevate your outdoor experience and provide you with a bounty of flavors for your culinary adventures.
Get inspired and enjoy the process of creating unique garden crafts and preserving the essence of herbs through drying!